25 Apr Complete Guide to Mobility for Runners
Below is a complete guide to mobility exercises to help with your running. These can be completed at the end of the day while you’re watching TV or at the end of your training session. Remember that each body is different, and this is only a general mobility program. Individuals with specific range of motion restrictions, ongoing pain or injuries may need to focus on one area of the body more than another and see an Exercise Scientist or Accredited Exercise Physiology for assistance in mobility prescription.
When completing mobility, it’s important to remember that stretching isn’t going to be detrimental to the tissue. But for optimum benefits, always mobilise the tissue first and then stretch afterwards. For example, foam roll your calves, then stretch your calves, then move on to the next muscle group.
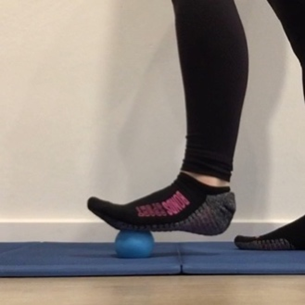
1. Foot release with a ball
- Place ball under foot and roll it back and forth applying pressure down
- Roll the ball slowly and applying pressure when a knot or trigger point is found
- Place heel on ground and the ball under the ball of your foot and swing foot side to side
- Place toes on ground and the ball under the heel and swing foot side to side
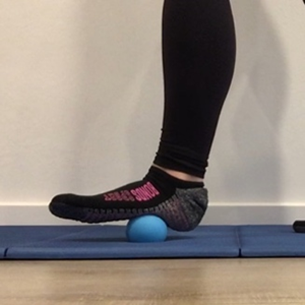
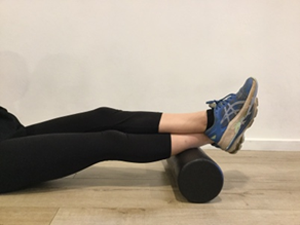
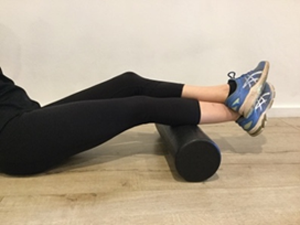
2. Calf release with a foam roller
- Sit down with legs straight and one leg on top of the foam roller
- Place the opposite leg over the top to add pressure
- Roll the leg from side to side – you may feel a flicking sensation which is okay
- Find multiple spots throughout the calf before changing sides
3. Standing calf stretch
- Place the ball of your foot against the wall and keep your leg straight
- Slowly push your hips forward whilst maintaining a straight knee position. Hold this position
- Then, keep foot in the same position and bend knee towards the wall. Hold this position before changing sides
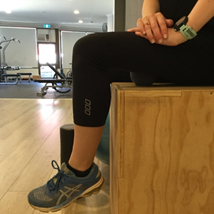
4. Seated hamstring release with a ball
- Sit on a firm surface (preferably with feet off the ground) & sit tall
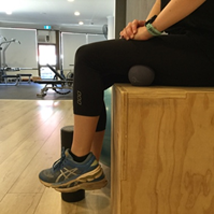
- Place a therapy ball into the back of your leg and relax the leg
- Move knee from left to right so that the hamstring flicks over the ball
- You can use your hands to push down on the leg to provide more pressure
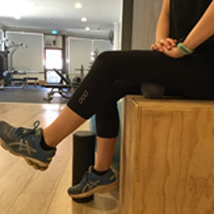
- Then, extend your leg (don’t fully straighten)
- Find multiple spots throughout the hamstring and straighten the leg 10 times per spot
5. Supine hamstring stretch
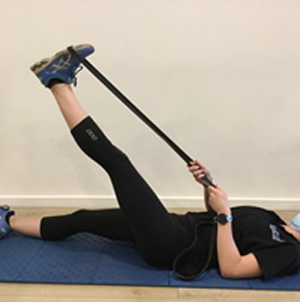
- Lay on your back with your legs straight and place the strap around your foot
- Slowly lift one leg, keeping it as relaxed as possible – ensure you have a very slight bend in the knee
- If you notice your calves are being stretched more than your hamstring – point your toes to the roof
6. Quad release with a foam roller
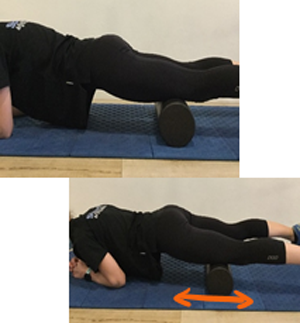
- Lay on your front with the roller on the front of your thigh
- Roll slowly down to just above the knee (don’t cross the knee joint) and back up towards the hip
- If you feel a knot or trigger point (lumps) then stop over it and just hold that position for 10-30seconds then continue to roll
- Allow your feet to drag along the floor as your roll – this means that your legs are relaxed
7. ITB release with a foam roller
- Place the roller on the outside of your thigh (ITB) and lay on your forearm
- Roll slowly down to just above the knee (don’t cross the knee joint) and back up towards the hip
- If you feel a knot or trigger point (lumps) then stop over it and just hold that position for 10-30seconds then continue to roll
8. Hip flexor release with a ball
- Find the top of your hip bone and place the therapy ball just on the inside of this (should be approx. in line with your belly button)
- Lay on the ball and allow your body to relax into it
9. Kneeling quad stretch
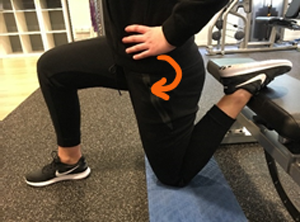
- Kneel down so that your foot is placed on the edge of a bench or chair while your opposite knee is at 90deg out in front of you
- Squeeze glute to align pelvis for a greater stretch
- If this stretch is too intense, you can start with the back foot on the ground
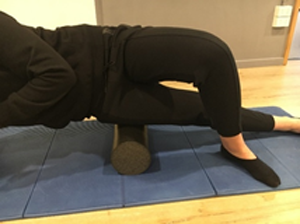
10. Side lying glute release with a ball
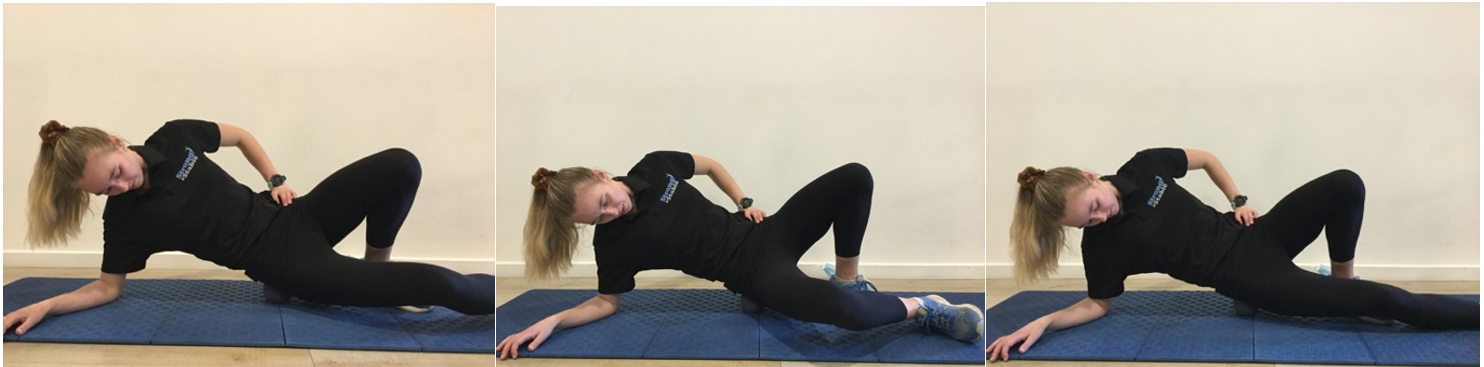
- Lay on your side with top knee pointing to roof and other leg flat bent on the ground (as seen in picture)
- Place the therapy ball into the fleshy part of the glute and relax into the balls
- Slowly slide the bottom knee up and then straighten the leg 10 times per spot
11. Glute stretch (prone or supine)
- Laying on your back, put one foot on top of the opposite knee (as seen in step 1 of picture)
- Then place hands behind your bent knee and bring feet off the ground
Sorry, the comment form is closed at this time.